- Remove the doorbell.
- Hold down the power button.
- Plug it into USB power. Make sure the hold the power button when you plugin.
- Continue holding down the power button for 9 seconds after plugging in the USB cable.
- Wait for few seconds and listen for the beep.
- Re-connect your new factory reset Logitech Circle View Camera to Apple HomeKit App.
Friday, June 27, 2025
Reset Logitech Circle View Camera
Thursday, March 13, 2025
Unable to view Lucidchart Shapes
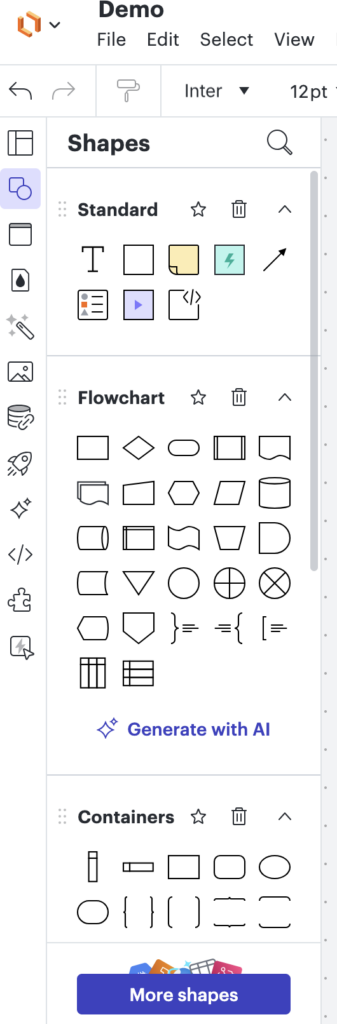
When you open the Lucidchart document, it will not show all the shapes. You have to edit the document to view all the added and supported shapes.
1. Edit it using the “Edit in Lucidchart” option.
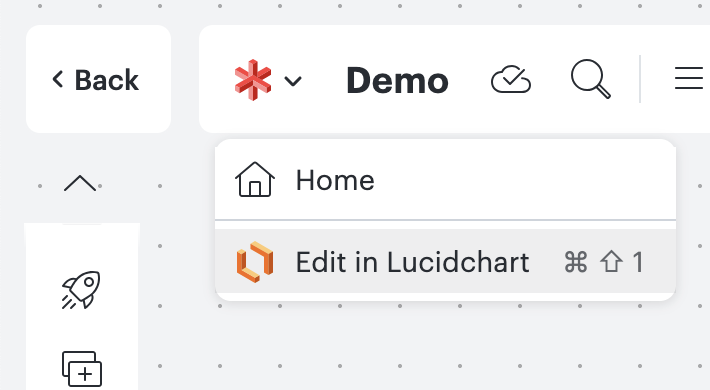
2. You should be able to see the Shapes.
Saturday, February 22, 2025
Generate UUID in Postman
We can do GET Request to UUID Tools endpoint to generate UUID from Postman client.
Endpoint:
https://www.uuidtools.com/api/generate/v4Script in Postman:
let jsonData = JSON.parse( responseBody);postman.setGlobalVariable( "UUIDValue", jsonData[ 0 ] );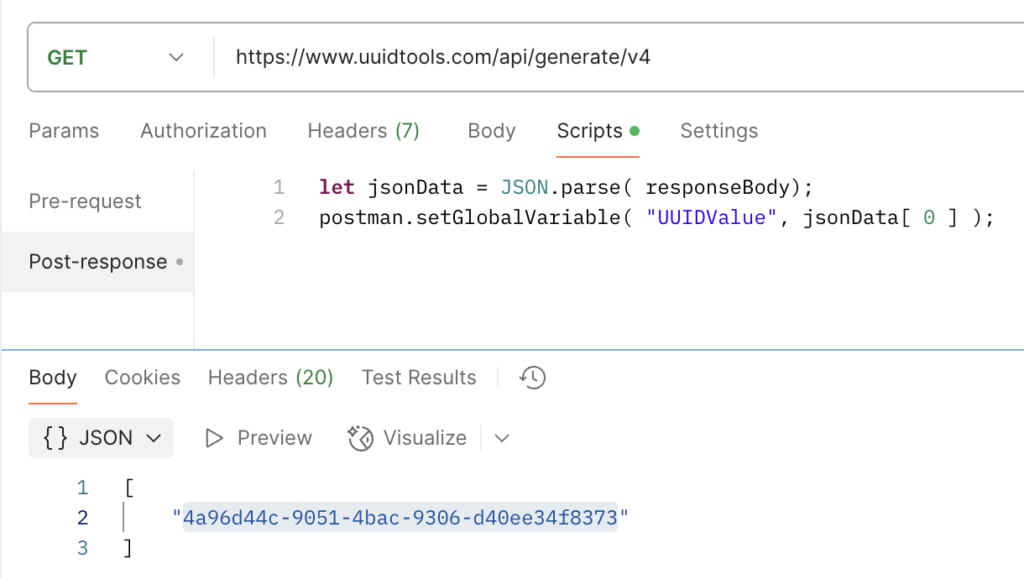
Friday, February 21, 2025
Install and use cURL in MacOS
1. Install brew if you haven’t installed.
Go to https://brew.sh and use the command shared in the website to install the brew.
2. Use the following command to install curl.
brew install curlNote:
If you get the following error, you have to update the PATH.
zsh: command not found: brewRun this command and then execute the brew command.
export PATH=/opt/homebrew/bin:$PATHThursday, February 6, 2025
Table of Contents in Google Documents
We can easily setup Table of Contents in Google Documents. Please make use of the following steps for your reference:
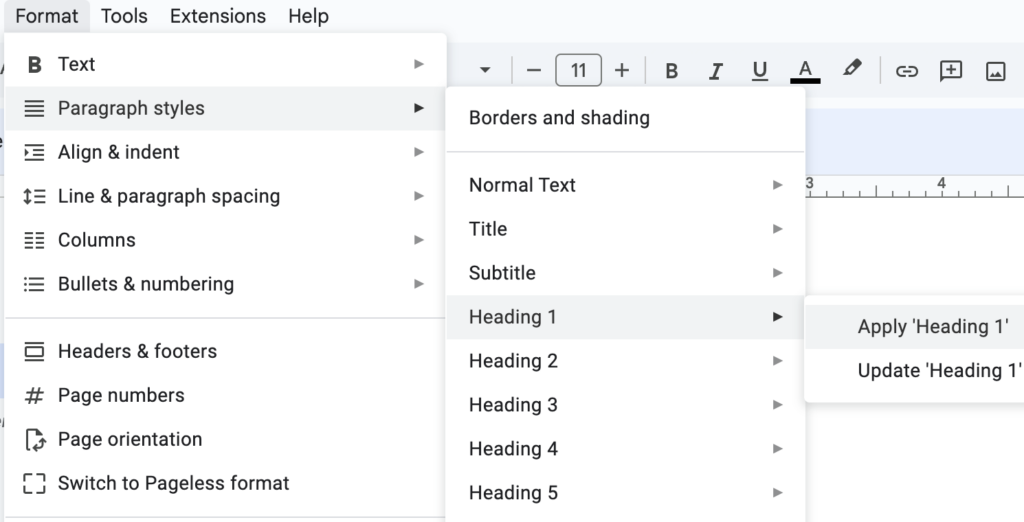
1. For all the Titles, use Format –> Paragraph styles –> Heading 1 or your choice of selection. This steps should be done for all the Titles to be included in the Table of Contents.
Note:
Please avoid using this step 1 for other text contents in your Google Documents.
2. Use Insert –> Table of contents to insert the Table of Contents in your Google Documents. The Table of Contents will make use of all the titles used in the Step 1.
Horizontal Line in Google Doc Header and Footer
If you would like to have a Horizontal Line in Google Doc Header and/or Footer, use the following steps:
1. Select Insert –> Headers & Footers –> Header
2. Select Insert –> Horizontal Line.
Please do the same steps for Footer after doing it for the Header if you want to have the horizontal line in the Footer also.
Fit Image to Full Page in Google Docs
If you are looking for cover page for your Google Document or fit an Image to an entire page, you can use the following steps:
1. If you have already created your document, use Page Break.
2. Go to the first page.
3. Select Insert –> Headers & Footers –> Header.
4. Use or enable “Different first page” option.
5. Go to the Body of the document in the first page.
6. Insert the image. Please don’t insert the image on the Header. It should be inserted on the Body.
7. Select the Image and click the Image Options.
8. Use “Behind text” and “Fix position on page” options. You can expand the image to fit. You can also add text, images, etc. The image will work as a Background to the first page of the Google Document.
Subscribe to:
Posts (Atom)
-
We can do GET Request to UUID Tools endpoint to generate UUID from Postman client. Endpoint: https://www.uuidtools.com/api/generate/v4 Scrip...
-
When you open the Lucidchart document, it will not show all the shapes. You have to edit the document to view all the added and supported sh...
-
We can easily setup Table of Contents in Google Documents. Please make use of the following steps for your reference: 1. For all the Titles,...


